Other Projects

I also have another project that I’m in the middle of, a very tiny model set of tanks, armored cars and trucks.

This is a 1/144 scale model set of WWII American vehicles, it includes two trucks, two tanks and two armored cars.

I can’t get very good closeups because my camera will not focus, but as you can see the models are very small.  I really enjoy building these small models because it take less time to build them which means I can get to painting and weathering more quickly.  My favorite part!  The tank is a M4A2 Sherman, the armored car is a M8 greyhound and the truck is a 6 ton 6×6 that was made by a number of different companies.

The Sherman has a winter “white wash” camouflage over the ordinary olive drab.

I when I get the rest of these small models built I plan on making a small diorama with them.
I’m Back!

I know I haven’t done a blog post in a really long time.  I also haven’t worked on many model tanks either.  But now I’m getting back into it and I have started some new projects.

First, is the half done Tiger II kit that I started.  This model has been sitting on my desk half finished for quite a while, but I plan on soon getting back to building it.  This kit is a Zvezda 1/35 scale model of the Tiger II or “King Tiger” with the later production Henschel turret.

My camera doesn’t take very good close ups, but as you can see I still have a lot of work ahead of me!


Dio With Abrams Tank

A while back I mentioned wanting to build a diorama for my Abrams, I’ve finally done it!

SD531136

SD531141

SD531127

To start I used a thin piece of plywood for the base.  Next I spread a layer of clear drying school glue down on the plywood base. Then I sprinkled sand over the top of the glue.  To fix the sand in place firmly, I mixed water and school glue in a spray bottle and then soaked the sand with the mixture.  Once the sand was dry I figured out the placement of the rocks and the tank and then glued them down.

The barbed wire fence and the spilled oil drum, were last minute details that I decided to add because it just didn’t look right with only a tank and a few rocks!

M1A1 Abrams

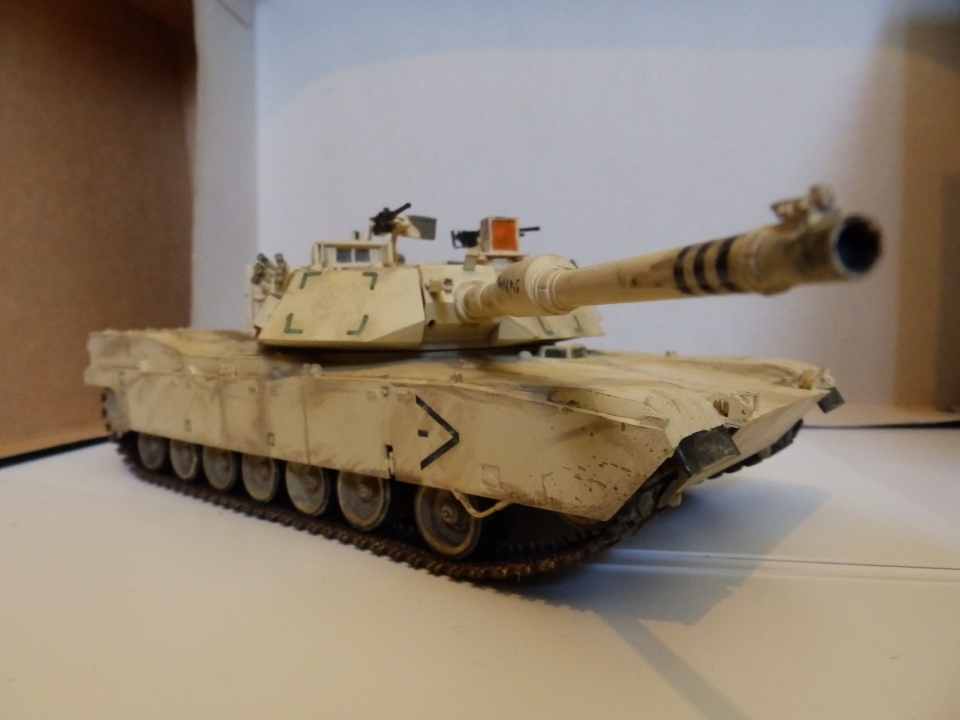
This post is on my latest project, my M1A1 Abrams.  I have been working on this model for a while, and I am now finished!  Here are some specs:

  1. Kit Brand:  Academy.
  2. Model Scale:  1/35.
  3. Model Of:  M1A1 Abrams.

Over all this has been a very nice kit to build, all the pieces went together well and look good.  Detail on this kit is also very good, except I noticed there are a lot of ejector pin marks.

Here are a few pics.

OLYMPUS DIGITAL CAMERA

OLYMPUS DIGITAL CAMERA

I used Model Master spray paint for the base color of “Desert Sand.”  To weather the tank I used Vallejo acrylics and washes.

OLYMPUS DIGITAL CAMERA

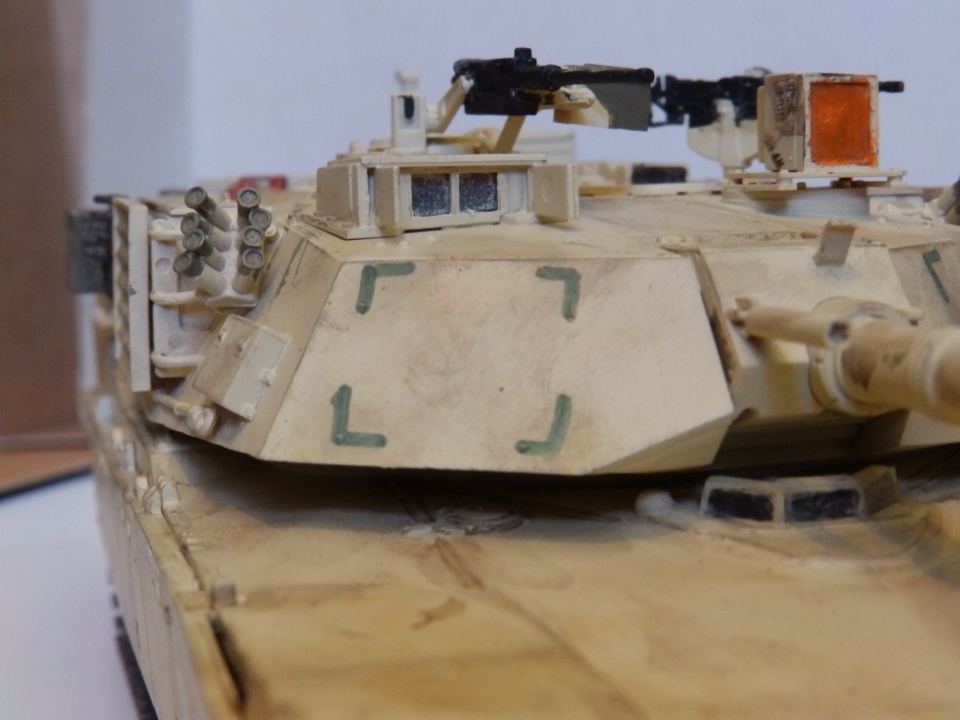
I found out the hard way that the decals for this model are a little delicate.  I ruined the main decals for the turret and the “WarPig” decal for the barrel, so I used a sharpie marker for the square like markings on the turret, and I hand painted the “WarPig” on the barrel.

OLYMPUS DIGITAL CAMERA

OLYMPUS DIGITAL CAMERA

The kit came with two marking options.  A US Army or US Marine tank, both of which served in Iraq 2003.  I chose the Marine markings.  I also want to make a diorama or a cool base for this model sometime soon.

OLYMPUS DIGITAL CAMERA

OLYMPUS DIGITAL CAMERA

OLYMPUS DIGITAL CAMERA

OLYMPUS DIGITAL CAMERA

In this last picture you can see how I flowed washes into the engine screens to make the detail pop out!


Finished Tiger

Well I’ve finally gotten around to taking some pictures of my finished Tiger model, enjoy!

OLYMPUS DIGITAL CAMERAOLYMPUS DIGITAL CAMERA

OLYMPUS DIGITAL CAMERA

I also took a picture of it in the snow.

OLYMPUS DIGITAL CAMERA

I weathered the tank with pretty much the same stuff that I used on my other two models.  A weathering set for meant for green colored vehicles like my M26 and Sherman.  Although it worked just fine for grey ones too!  It was just some dark brown acrylic paint that I dry- bushed on the model, and some pigments to get some mud on the tank.  I also dry-brushed some lighter buff colored paint on the tank.

Tiger Tank

My latest build is a Tiger tank model from the Italeri World of Tanks line.

Just like the the Sherman that I built, this tank is a tank from the game World of Tanks.  I am not finished with the tank yet, but I have put about ten hours of work into it.  Here’s what it looks like so far.

SD531062 SD531067

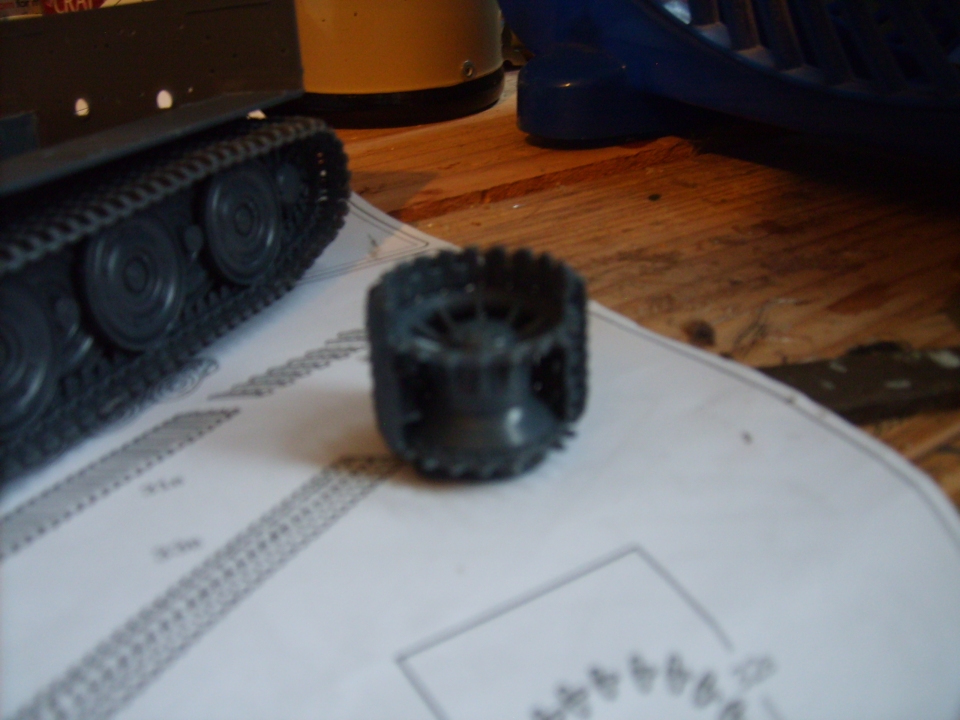
Unlike my M26 Pershing and my Sherman, this kit comes with tracks that you have to build.  There are twelve individual links at the front of the tracks and twenty one at the rear.  For the middle section there are long sections of track so you don’t have to build the whole length of the tracks.

SD531071

After the tracks were done I started building the upper hull.  After the main hull was built I started working on the fenders of the tank.  Normally they are individual fenders, but in this kit they molded them as one piece.  I cut them apart so I could make them look a little war torn and beat up.  I did this by heating them up with a hairdrier and bending them with a pliers.  After that was done I glued them on the tank.

SD531079SD531080

I know the quality of the pictures isn’t very good, but hopefully you can see that the fenders have some dings and dents in them!


Pictures of my M26

The last post I did was a little over a week ago, and it was about my model M26 Pershing.  I didn’t really have any pictures of my M26 ready, but now I do!  Here are a few pictures that I took myself.


OLYMPUS DIGITAL CAMERAOLYMPUS DIGITAL CAMERAOLYMPUS DIGITAL CAMERAOLYMPUS DIGITAL CAMERAOLYMPUS DIGITAL CAMERAOLYMPUS DIGITAL CAMERAOLYMPUS DIGITAL CAMERAOLYMPUS DIGITAL CAMERA

OLYMPUS DIGITAL CAMERA


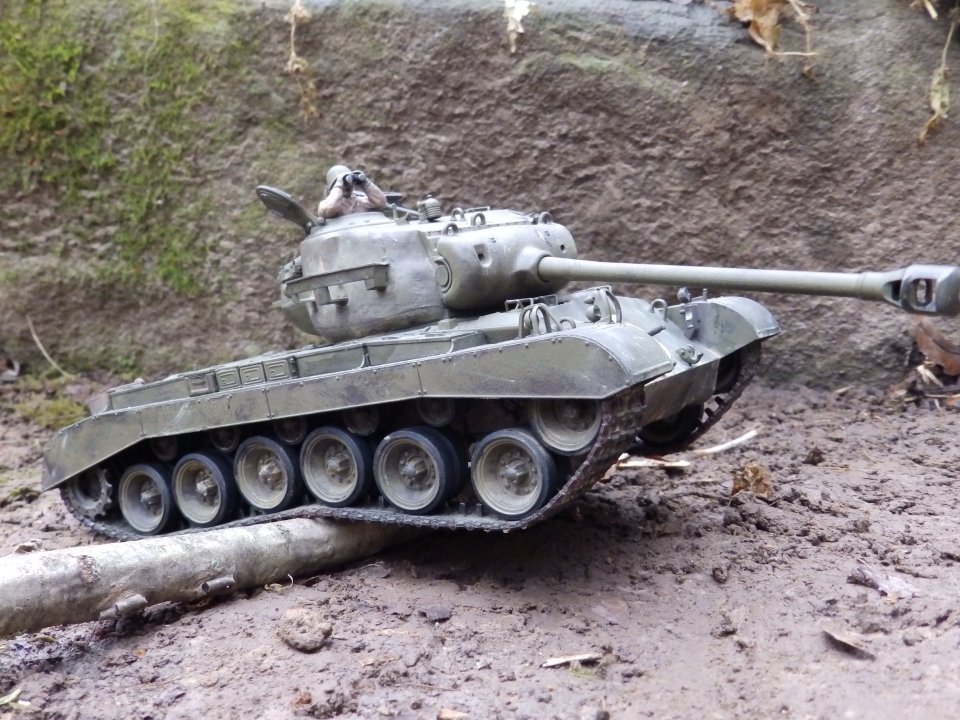
As you can see in the pictures above, this model has a really cool working suspension!  I also added some battle damage to the tank by heating up a nail with a propane torch and sliding it across the part that I wanted to damage.  You can see the battle damage on the turret and the the hull.  I used graphite to imitate fresh raw steel, and then I dry brushed with a little rust colored acrylic paint, and dusted it with a little bit of dry pigments.

M26 Pershing

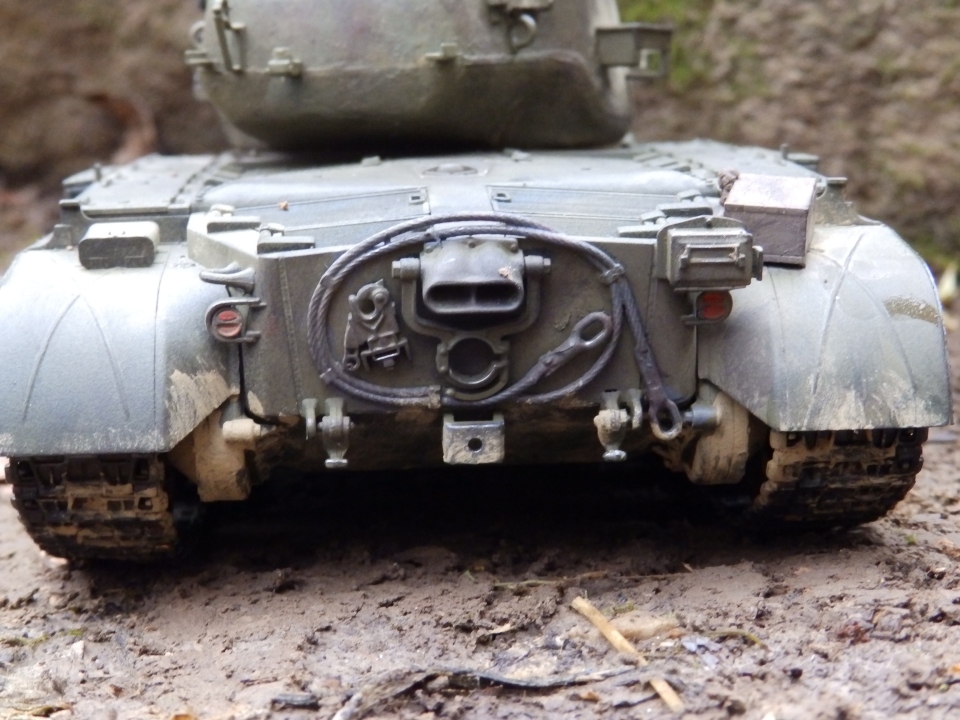
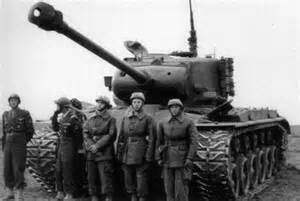
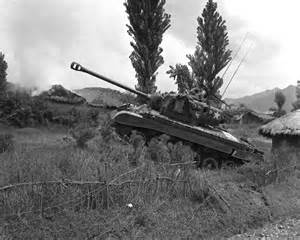
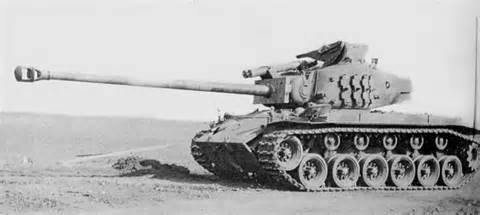
The M26 Pershing is one of my favorite tanks of all time.  The M26 was a  heavy tank that served just at the end of WW2.  It also served in the Korean war.  Since it is one of my favorite tanks, I wanted to build a model of it.  There are a couple of choice’s to choose from, as far as kit manufacturers go.  I chose the Tamiya kit (http://tamiya.com/) because it had good ratings and a good level of detail.  I am sad to say that I can’t provide you with any pictures of the building process, because my camera can’t capture very much detail.  But, I will be able to post some pictures of the finished model in a few days.  As far as building, the kit went together really well, and looks great in my opinion.

Since no pictures of my own model are ready, here are some pictures of the real tank.

m26 blog

serveimage

m26 blog 2m26 blog 3

The finished product

 In the last blog post that I did I talked about the M4 Sherman model kit that I built.

But it wasn’t quite finished, because I hadn’t weathered it much yet, also I realized the pictures of my model weren’t very good quality, because my camera is really old and doesn’t take very good pictures.  So I decided to call in the “Big Guns” aka my older sister who is a professional photographer (shannonruthphtography.com) and a really great sister!   We did a little photo shoot and here are the results.

zachs tank 10_2015 (17 of 56)

zachs tank 10_2015 (10 of 56)

zachs tank 10_2015 (18 of 56)

zachs tank 10_2015 (27 of 56)

zachs tank 10_2015 (24 of 56)

zachs tank 10_2015 (30 of 56)

zachs tank 10_2015 (31 of 56)

zachs tank 10_2015 (37 of 56)

zachs tank 10_2015 (44 of 56)

zachs tank 10_2015 (45 of 56)

zachs tank 10_2015 (47 of 56)

zachs tank 10_2015 (51 of 56)

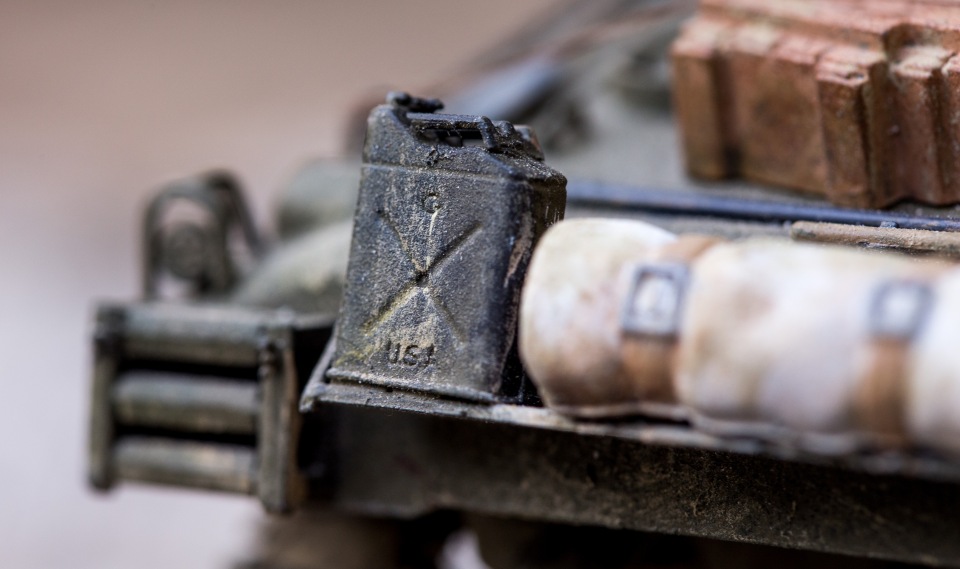
I weathered the tank with Vallejo acrylics, pigments, and washes.  For the debris in some of the pictures I would throw dust and dirt, and let the wind blow it in front of my sisters camera.

My sister featured my tank in one of her blog posts, so be sure to click on the link above.

My first “real” build

As I have mentioned in earlier posts, I play a computer game called “World of Tanks.”

And lately I have been reading through my stash of Fine Scale Modeler magazines (Finescalemodeler.com) and have really wanted to build a kit.  So, when I was browsing my local hobby store I noticed something on the shelf that really caught my eye, it was a new kit that they got in, and it said on the box that it was actually  modeled after the M4 Sherman on World of Tanks!  That got me pretty excited!

I ended up buying the kit that day, and bringing it home to start building!  The kit was made by a well known kit manufacturer called: Italeri. (Italeri.com)  I am not a very experienced model builder so it may not look to good in the eyes of a professional modeler, but I got out the glue and tackled the project, the first thing that I did was use a technique that I heard about in a Fine Scale Modeler magazine, the technique is called:  stipling.  What you do is use plastic cement to soften the plastic of the kit, and then jab a stiff brush into the softened plastic to get the effect of the rough cast texture that was apparent on the real M4’s.

I painted the whole tank (except the tracks) with a base coat of flat black spray paint, after that was dry I painted it all olive drab. for the tracks I just painted them with black acrylic paint, and put them on the tank, once the tracks were on I applied a few washes and colors to the whole suspension.  For the stowage on the tank I used acrylic paint.

Here are a few pictures of my 1/35 scale model, ready for weathering!

GetFileAttachmentmy tank 2my tank 3my tank 4my tank 5